
One of the biggest surprises from my first experiment in homemade almond milk was that it spawned a small tribe of devotees. It’s been a nut-milk-making factory around here, and it’s the elves busy at the blender more than me. Virginia and Rosie alone have knocked out three batches, and counting.
This is a revelation, since heretofore my girls have all turned their button noses up at nut milk of every stripe. I’ve brought home a number of brands and blends, and while they’ll drink them in a smoothie without protest, they’ve never drowned their cereal in nut milk or drank it by the glassful.
Delicious Homemade
With homemade almond milk, all that’s changed, largely because fresh nut milk tastes terrific. Much in the way a packaged cookie can’t measure up to one hot from the oven, boxed almond milk can’t hold a candle to the flavor of fresh (and that’s coming from someone who regularly stocks and enjoys store-bought nut milk).
Another upside of making your own almond milk it is that you get total control over what goes in there. Store bought nut milk is often spiked with stabilizers, preservatives, sugars, and other ingredients. Homemade is simply almonds and water blended together and strained, with a touch of honey and vanilla, if you like.
A Few Minuses
Now that I’ve sold you on the idea of fresh nut milk, there are a couple of downsides. First, it only lasts a few days in the fridge, which hasn’t been a problem here since it disappears quickly. More importantly, though is that homemade almond milk is not a good calcium substitute for cow’s milk or calcium-fortified almond milk. Homemade almond milk has about 45 milligrams of calcium per cup, which falls well short of the roughly 300 milligrams in a cup of cow’s milk or fortified nut milk.
The way I see it, homemade almond milk is a delicious new addition to our home cooking repertoire. Will I be ditching the carton of 1 percent milk that lives in our fridge? No. And I imagine I’ll continue to stock store-bought almond milk as well. But I’m more than happy to hand over my blender so my kids can watch the magic of turning a cup of nuts into a cold and creamy treat.
I encourage you to give homemade nut milk a whirl; you’ll find a photo tutorial below and a recipe for Honey Vanilla Almond Milk at the end of this post. :
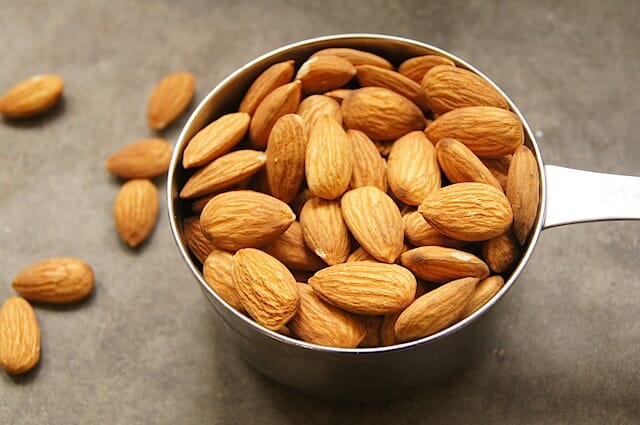
Start with 1 cup of almonds.
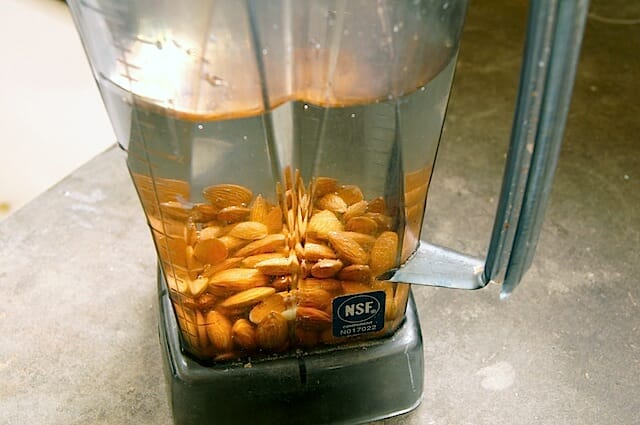
Immerse them in 3 1/2 cups of water and leave overnight.
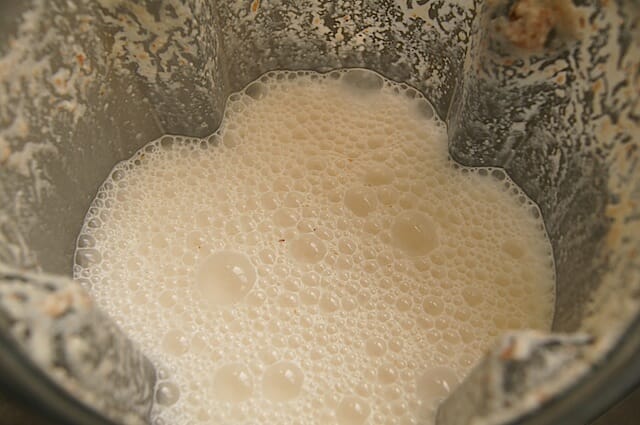
Blend the soaked almonds and water until pulverized

Get yourself a nut milk bag, a very thin dish towel, or cheesecloth.
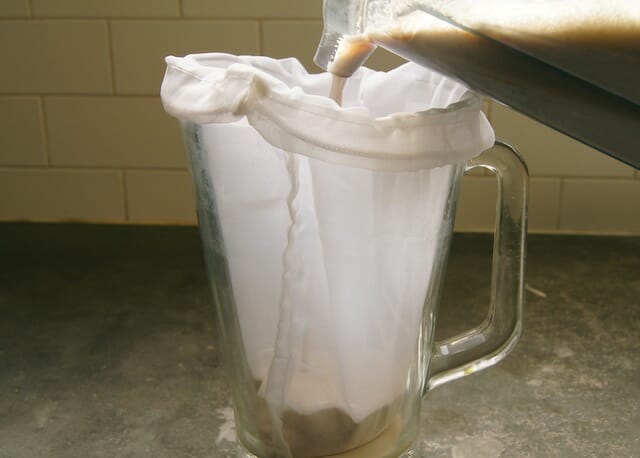
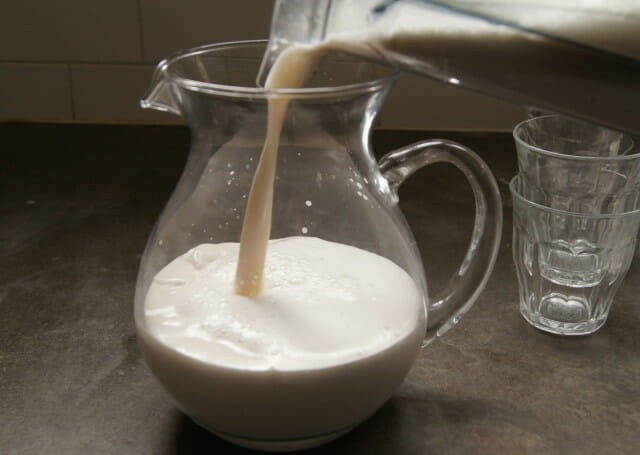
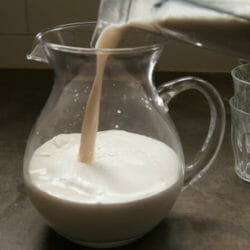
Line a pitcher or bowl with the nut milk bag/tea towel/cheese cloth and pour in the blended milk.

Strain the liquid out of the bag. A colander may come in handy for this.
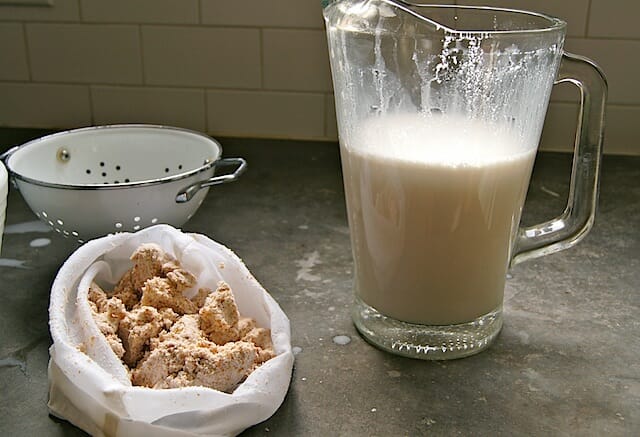
What you’ve got now is almond milk and almond meal. A true homesteader might dry out that almond meal in a low oven to use in baked goods, but alas, I fed it to my compost.
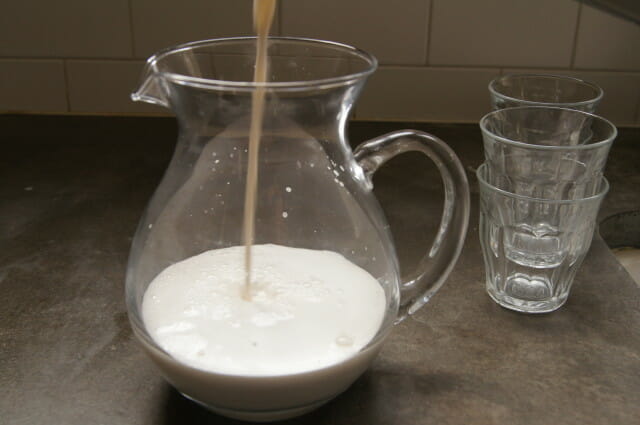
Blend in a touch of honey and vanilla, if you like.
Chill for a couple of hours to get it good and cold.
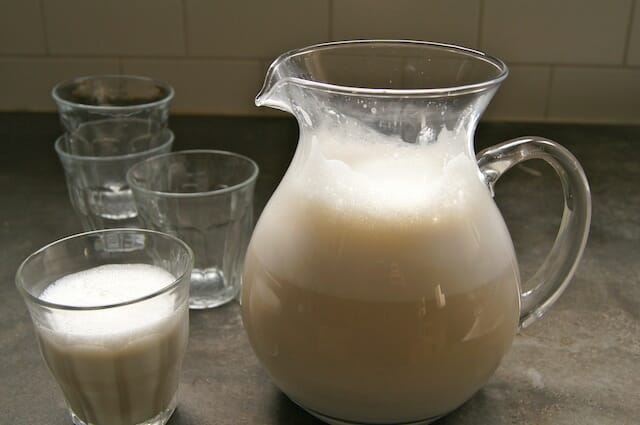
Now, drink your milk. Quick, before the elves get to it.

Honey Vanilla Almond Milk
Making your own nut milk yields a delicious drink and gives you total control over what goes in there. Store bought nut milk is often spiked with stabilizers, preservatives, sugars, and other ingredients. Homemade is simply almonds and water blended together and strained, with a touch of honey and vanilla, if you like.
Ingredients
- 1 cup raw almonds (not roasted or salted)
- 3 1/2 cups water
- 1 teaspoon vanilla extract
- 1-2 tablespoons honey
Instructions
-
Put the almonds and water in the pitcher of a blender and leave overnight to soak.
-
Once soaked, run the blender on high until the almonds are completely pulverized, a minute at least.
-
Drape a nut milk bag over the top of a pitcher. Alternatively, line a colander with a double layer of cheese cloth or a thin tea towel and set over a mixing bowl. Pour in the contents of the blender into the pitcher or colander and strain out the liquid. Squeeze the bag/cheese cloth/tea towel very firmly until all that remains in the bag is fairly dry almond meal.
-
Rinse the blender of any almond meal residue and pour the strained almond milk back in. Add the vanilla and honey and run the blender until mixed through.
-
Chill for a couple of hours. Stir the almond milk just before serving. Store in the fridge for up to three days.